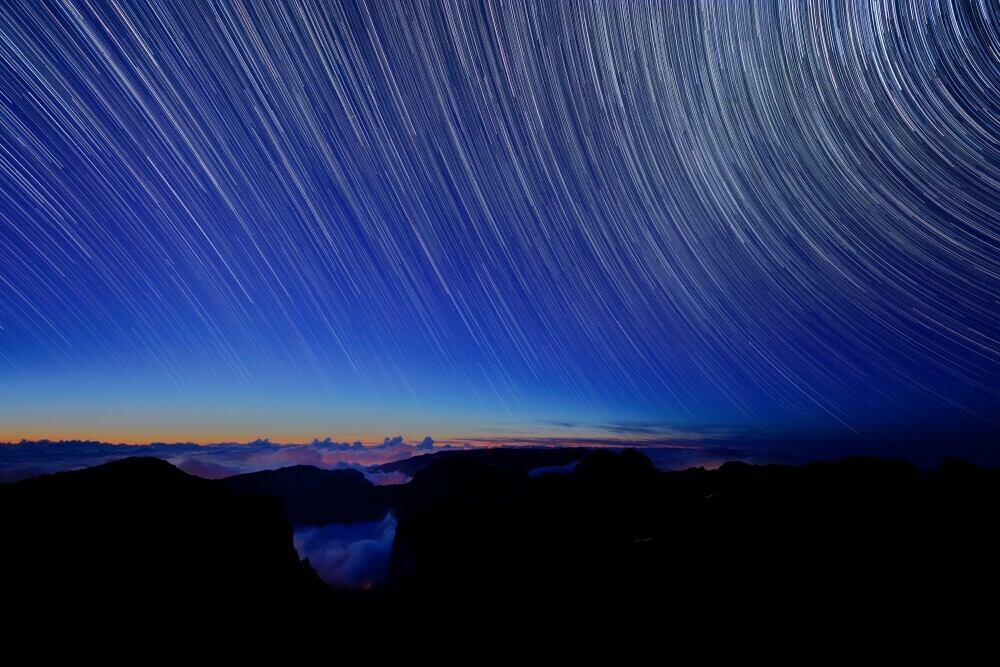
 Colin Watts. (2024) Madeira, Portugal [Photograph]. Unsplash
Imagine standing under a blanket of stars, camera in hand, ready to capture the vast cosmos. I’m here to guide you through planning your night sky photography shoot, ensuring you’re well-equipped to turn those celestial dreams into stunning photographs. Night sky photography isn’t just about pressing the shutter button; it’s a deliberate blend of PREPARATION, technique, and patience.
You might face low light conditions, moving celestial objects, and technical camera settings that can be daunting to beginners and even seasoned photographers. But fear not. The stars will align for your photo shoot with proper guidance and preparation.
Why stress the importance of planning? Without it, you could have the fanciest gear and perfect conditions but still fall short. Each phase in the planning process is a stepping stone towards that ideal shot of the Milky Way, a meteor shower, or a lunar event that can leave viewers in awe.
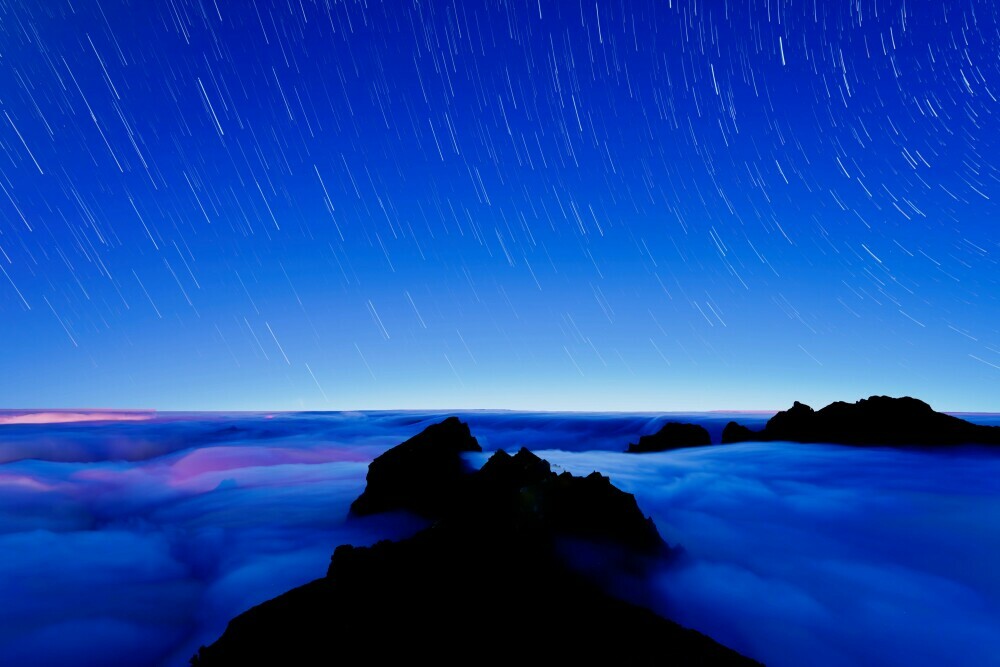
Preparation: The Keystone of Night Sky Photography
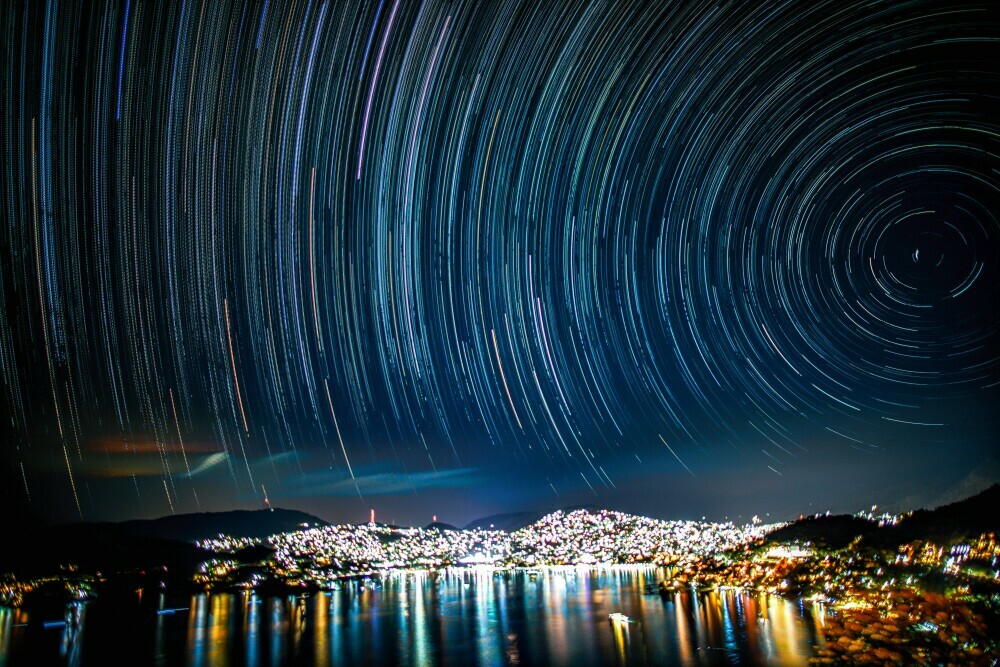 Sam Goodgame. (2020) Guerrero, Mexico [Photograph]. Unsplash
As with any endeavor worth pursuing, successful night sky photography begins with thorough preparation. You could argue it’s even more critical when dealing with the uncertainty of capturing celestial bodies. Your commitment to preparation can make or break your shoot.
Finding the perfect location is paramount in night sky photography. It’s more than just escaping city lights; it’s about finding spots with minimal light pollution, offering pristine, dark skies. A valuable tip is to consult a dark sky map or app to identify promising locations. Remember, the ideal spot isn’t just about darkness but the view. Look for a place that offers an intriguing foreground to complement the celestial backdrop.
Regarding gear, your choices can significantly affect the quality of your night sky photos. A sturdy tripod and a camera that excels in low-light conditions are essential. Lenses with wide apertures are a game-changer, allowing lighter to reach the sensor and capturing finer details of the night sky. And don’t forget about spare batteries and memory cards—the cooler night temperatures can drain your battery faster than you might anticipate.
I’ll provide a Night Sky Photography checklist with these fundamentals in mind. This isn’t just a list of things to pack. It’s a framework for ensuring you’re ready to capture breathtaking images of the cosmos. Every item serves a purpose, from lens cloths to clear your glass to snacks for those long waits between shots.
Finally, in the spirit of foresight, consider your astrophotography preparation a rehearsal for the shoot. Charge your batteries, format your memory cards, and review your camera settings before leaving. This is the discipline of night sky photography setup that separates the good from the great.
Committed to your preparation, you’re poised to capture the night sky in all its glory. But snapping a photo is just the beginning; applying the proper shooting techniques elevates a snapshot to art. And that’s what’s up next: fine-tuning your approach to ensure you come home with stellar images in more ways than one.
Mastering Night Sky Shooting Techniques
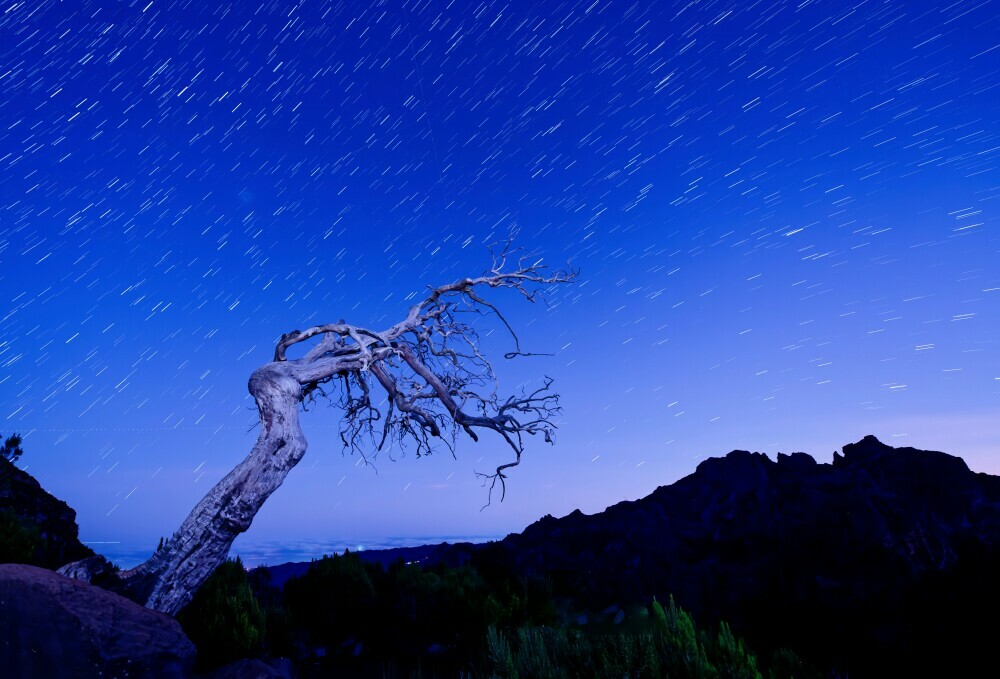 Colin Watts. (2023) Achada do Teixeira, Portugal [Photograph]. Unsplash
Once you’ve painstakingly prepared your gear and found an ideal location, the real thrill of night sky photography begins, and that’s where technique becomes crucial. Precision in technique can make or break your night sky images.
Before setting up your tripod, take a moment to absorb your surroundings and envision the composition of your celestial shots. A thoughtful approach to where you place the Milky Way or a constellation in your frame can transform a good photo into a stunning one.
Use Manual Mode on your camera to gain complete control over the exposure. Adjust the aperture to its widest setting, usually f/2.8 or lower, to let in as much light as possible. Pair this with a high ISO, but be wary of going too high, as noise can become an issue.
Long exposure times are a hallmark of night sky photography, but they require a bit of trial and error. Start with an exposure of 20 seconds and play around with the duration. The goal is to keep stars as sharp points rather than elongated trails unless that’s the creative effect you’re aiming for.
Focus can be tricky in the dark. If your camera struggles to auto-focus, switch to manual focus and use the live view function to focus on a bright star or a distant light. Always remember that stability is your ally. A sturdy tripod and a remote shutter will be invaluable in reducing unwanted camera shake.
Lastly, dial in on the details to give your images a professional touch. Learn to play with light painting or silhouetting foreground elements to add depth and interest to your compositions. A dash of creativity can go a long way.
Post-Shoot: Evaluating and Perfecting Your Night Sky Images
 Colin Watts. (2023) Madeira, Portugal [Photograph]. Unsplash
As you wrap up your night sky photography session, the final steps are crucial to ensuring your hard work pays off. It’s not just about the planning and the shooting; it’s about reviewing and refining, too.
Starting with an on-site review can be a game-changer. While the night’s events are fresh in your memory, take a moment to look through your images. Check for focus, composition, exposure, and any unforeseen elements that may have crept into your shots. I can’t emphasize enough how important this step is. If necessary, it’s your immediate chance to rectify any issues by retaking photos.
Once home, revisit your night sky photography settings to see what worked and what didn’t. Reflect on your techniques and jot down any adjustments for future shoots. This practice might seem tedious now, but trust me, it makes a difference in honing your craft.
With your images safely imported, the post-processing stage begins. Tools like noise reduction, exposure adjustment, and contrast can elevate astrophotography from good to stellar. Remember, less is often more; avoid over-editing to maintain the natural beauty of the night sky.
Finally, sharing your work with others is both thrilling and informative. It allows you to showcase the beauty you’ve captured and opens the door to feedback, which is invaluable for growth. Whether through social media, an online gallery, or a print, let your night sky photos inspire others as the stars have inspired you.
Ultimately, every stage of your photography shoot planning contributes to your artistic development. Keep pushing your limits, learning from each experience, and capturing the majestic cosmos in all its glory.