
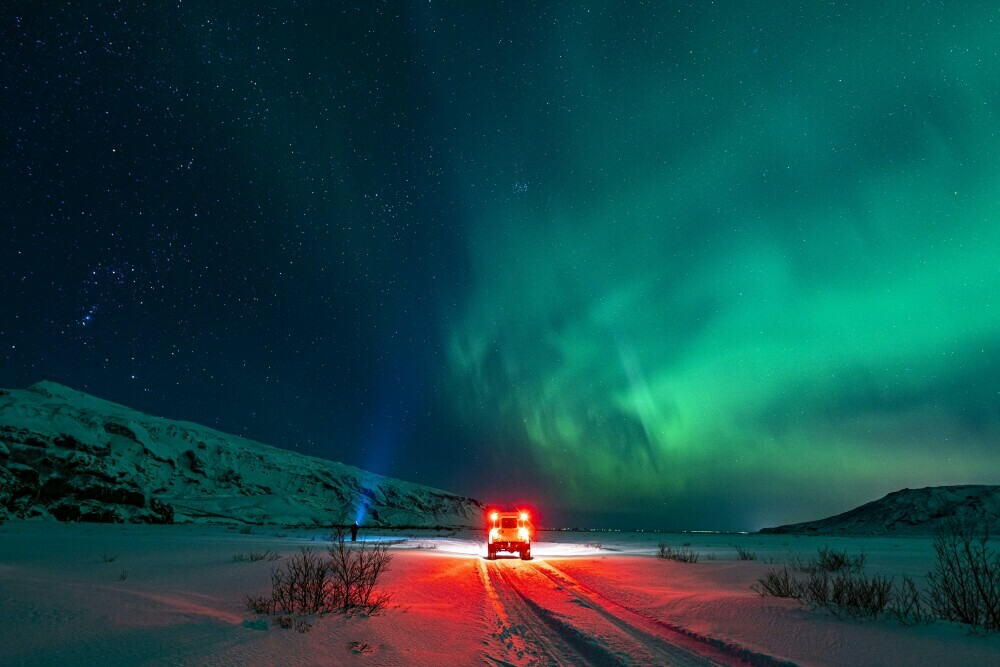
 Jonatan Pie. (2020) The Northern Lights Iceland, [Photograph]. Unsplash.
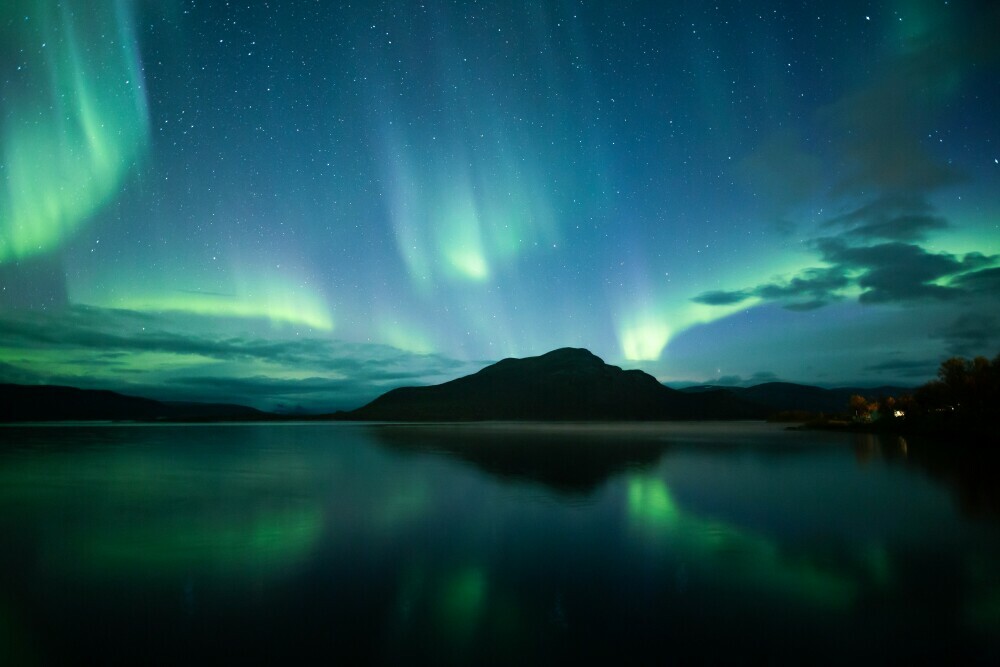
The Aurora Borealis, known as the Northern Lights, is a spectacular dance of colors that paints night skies in the polar regions. As a photographer, capturing the raw beauty of this natural display is both a privilege and a challenge. This section will guide you through the preparatory steps for photographing this celestial show, setting the stage for the image enhancement techniques in Adobe Photoshop that I’ll detail later.
Understanding the lights begins with a bit of science. The Northern Lights result from solar particles colliding with atmospheric gases, creating vivid hues illuminating the Earth’s magnetic poles. The colors vary from elusive greens to rare purples, each offering a unique canvas for your lens.
The correct camera settings are critical. Due to long exposures, you’ll need to use a tripod, and it’s advisable to shoot in RAW format for maximum post-processing flexibility. A wide aperture around f/2.8 will allow enough light to enter the lens during the short window of the display. High ISO settings are often necessary, but keeping ISO as low as possible will reduce noise that enhancement techniques can later accentuate.
Your location and timing are also determining factors in aurora photography. The lights are seasonal and more prominent during the equinoxes. Remote areas with minimal light pollution offer the most transparent view. I recommend scouting your locations during the day to ensure safety and composition opportunities at night.
Considering these considerations, you’re ready to capture the Aurora Borealis. But the journey from a good aurora photograph to a genuinely striking one often lies in the post-processing. In the next section, I will introduce the power of Adobe Photoshop and how its vast array of tools can transform good images into breathtaking ones.
Introduction to Enhancing Aurora Photography with Adobe Photoshop
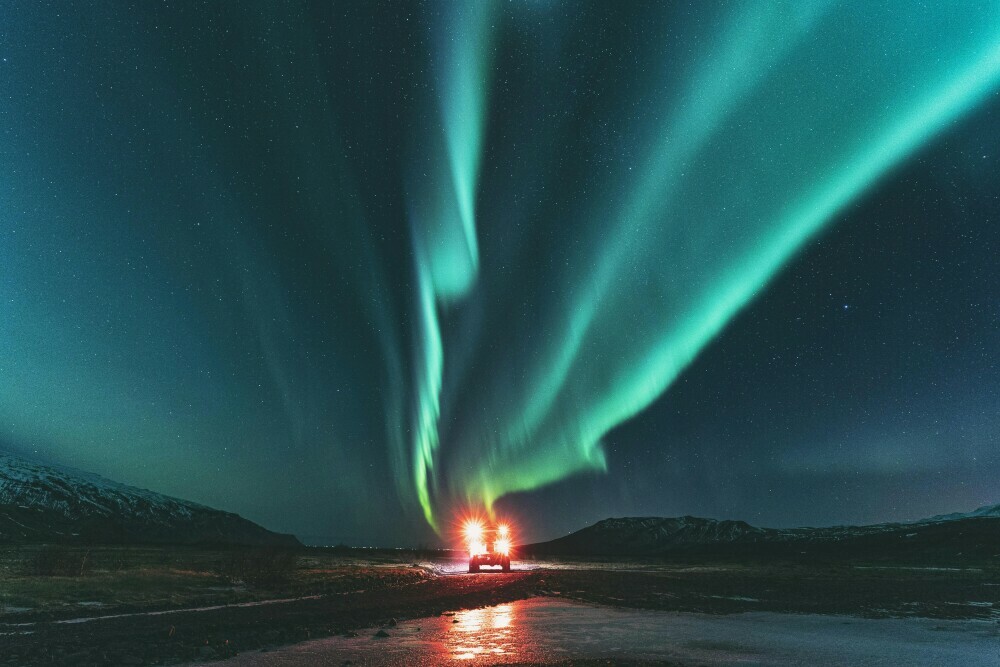 Jonatan Pie. (2021) The Northern Lights Iceland, [Photograph]. Unsplash.
Some moments demand more than a snapshot; they require a canvas where their full grandeur can unfold. Such is the case with the Aurora Borealis, those mesmerizing curtains of color that paint the polar skies. A great photograph captures a hint of this spectacle, but sometimes, even the best shots need a touch of digital craftsmanship to come alive indeed. This is where Adobe Photoshop comes in, offering a palette of tools for photographers looking to enhance these celestial displays.
Post-processing is not just an afterthought; it’s a critical component of photography editing. It bridges the gap between what your camera captures and what your eyes witness. It’s about finding balance, enhancing the correct elements, and, sometimes, drawing out the hidden splendors within an image. Photoshop offers an extensive suite of features dedicated to this purpose, and one can leverage these to accentuate the ethereal essence of Aurora Borealis images.
As we explore advanced Photoshop techniques, think of each tool as an artist thinks of their brushes, each capable of adding depth, texture, and light to turn a photo into a masterpiece. The upcoming section will guide you through the essential steps, from adjusting exposure to refining the final details to ensure your Aurora photography reaches its sublime potential.
Advanced Photoshop Techniques for Aurora Borealis Images
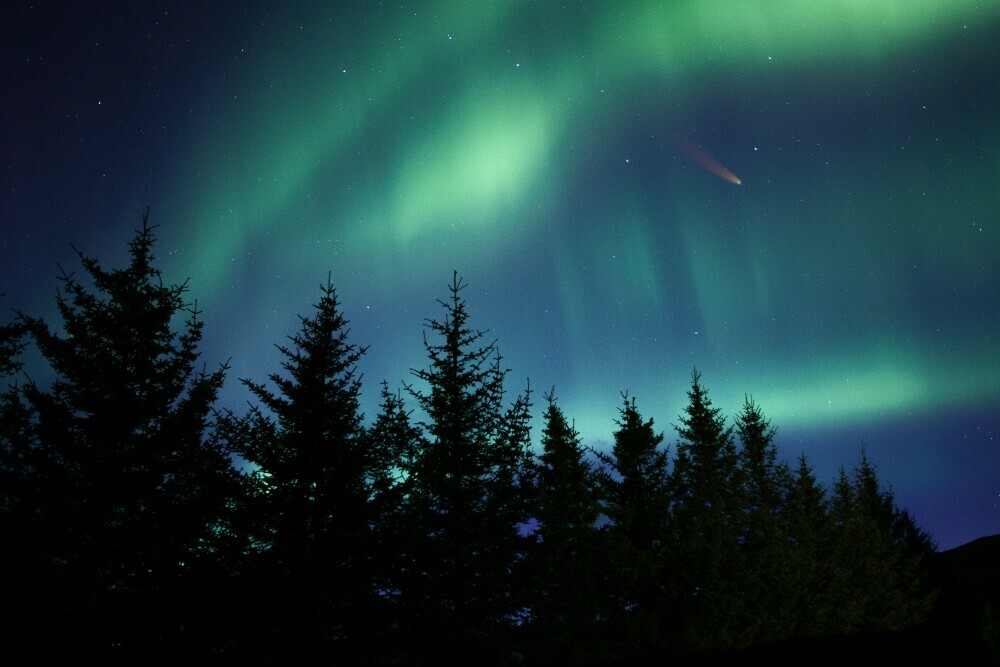 Chris Henry. (2020) The Northern Lights Iceland, [Photograph]. Unsplash.
If you’re looking to elevate your images of the Northern Lights, Adobe Photoshop offers an array of advanced techniques to enhance the visual impact. These steps can transform a good photo into a truly breathtaking one.
Begin by adjusting the exposure and contrast. This can significantly change the dynamic range of your image. A slight increase in exposure can bring out the details in the darker regions while playing with the contrast, which gives the lights more definition against the night sky. Work with the ‘Curves’ adjustment to fine-tune these elements.
Selective color adjustments benefit Aurora images where you want specific colors to stand out. Use the ‘Hue/Saturation’ adjustment layer to target and modify the greens, purples, or pinks commonly found in these displays. Incremental changes here can make dramatic improvements to your overall composition.
Layers and masking are potent tools in your editing arsenal. They allow you to apply effects or adjustments to parts of the image without altering the whole. This is especially helpful when you want to enhance the vibrancy of the aurora without affecting the landscape below. Remember, subtlety is essential to maintaining a natural look.
Another critical step is noise reduction. Shooting in low light often results in a grainy look, particularly in the darker parts of an image. Photoshop’s ‘Reduce Noise’ filter can help smooth out this grain while preserving the details that make your photo unique. Use it sparingly to avoid an overly processed appearance.
As you perform these manipulations, constantly assess your progress. Zoom in to check for any loss in detail or unwanted artifacts. A careful balance between enhancement and preservation will ensure that your image accurately represents the natural wonder you witnessed. The proper Photoshop techniques can amplify the magnificence of the aurora while keeping the scene authentic and grounded.
Perfecting Your Northern Lights Imagery: Final Touches and Best Practices
 Sami Matias. (2019) The Northern Lights [Photograph]. Unsplash.
Now that you’ve applied some advanced Adobe Photoshop techniques to enhance your Aurora Borealis images, it’s time to focus on the final touches that will bring your photography to life—precision matters in image enhancement. A few well-executed adjustments can make all the difference between a good photo and a breathtaking one.
Start by examining your image for sharpness. The Aurora’s delicate structures benefit from subtle sharpening. Use Photoshop’s Smart Sharpen or Unsharp Mask tools carefully to avoid introducing unwanted artifacts. Adjust the sliders incrementally, previewing the changes as you go until you achieve the desired effect.
Clarity is essential, particularly for highlighting textural details in the night sky. Yet, striking a balance is necessary—too much clarity can produce an unnatural look. Adjust the Clarity slider slowly and toggle the before-and-after view to ensure you’re enhancing and not detracting from the Aurora’s natural splendor.
Consider the overall balance of your composition. Step back and view your image. Look for any elements distracting from the main subject and use localized adjustments, like the adjustment brush, to correct these areas. Subtly darkening the edges of your photo with a vignette can also help to draw the viewer’s eye to the vibrant lights of the Aurora.
Lastly, reflect on the ethical side of digital manipulation. While it’s tempting to push the limits of your adjustments to create a more striking image, remain faithful to the authentic experience of the Aurora Borealis. The goal is to enhance natural wonder, not transform it beyond recognition. Your post-processing should respect the scene’s reality and maintain a sense of integrity.
Once you’re proud of your work, remember to save your final image in the appropriate format for your intended use. If you’re sharing your Aurora photography online, consider resizing and optimizing the image to ensure fast loading times and accurate color rendering across different screens.
Photo editing is an art form; like any art, it requires practice. Refine your craft, stay open to learning, and, above all, enjoy the process of bringing the mesmerizing beauty of the Aurora Borealis to viewers everywhere with your enhanced photographs.
Disclaimer: The Aurora Borealis is a natural phenomenon, and sightings cannot be guaranteed.
For additional blog posts, please visit:
https://northernlightsshuttertech.com/
(This post may contain affiliate links. If you make a purchase, I may receive a small commission at no cost. Thank you!)