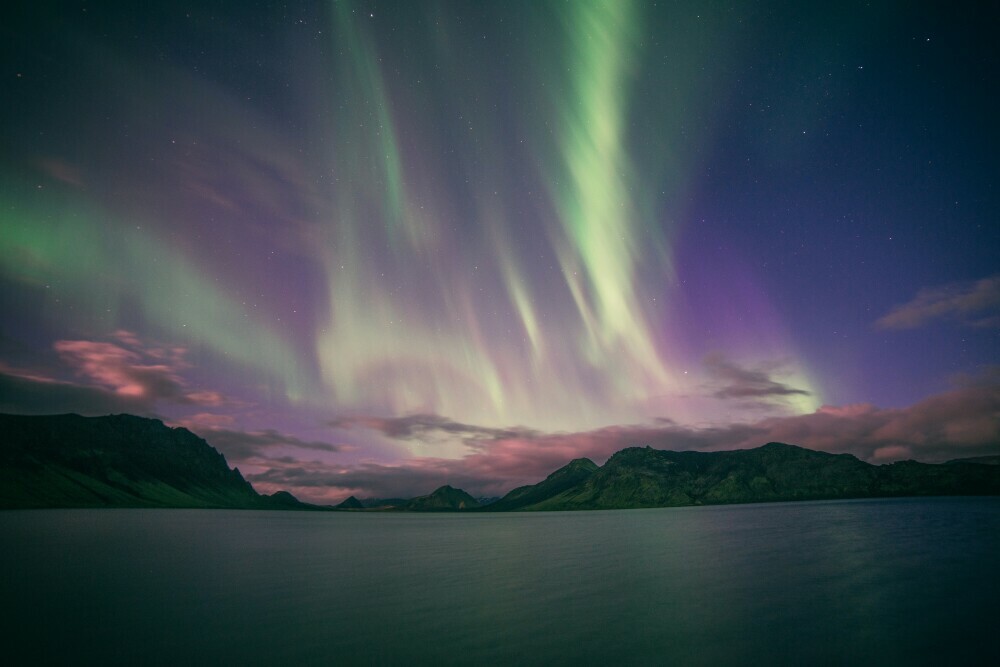
 Jonatan Pie. (2017) The Northern Lights Iceland [Photograph]. Unsplash
The Northern Lights, or the Aurora Borealis, present a dance of luminous colors across the night sky, captivating photographers and onlookers alike. Enticing as it may be, Northern Lights photography is riddled with challenges, as capturing its magnificence requires skill and technical knowledge.
One key element that can make or break a Northern Lights image is CLARITY. Each shimmer and wave of the Aurora must be crisp, allowing viewers to feel like they’re witnessing the phenomenon firsthand. This level of detail isn’t always achievable in-camera, especially under the dynamic conditions of a nighttime display.
That’s where the art of image sharpening makes an entrance. Think of sharpening as a fine-tuning process—it enhances texture, accentuates edges, and brings forth details that were not immediately visible. But beware, excessive sharpening can quickly degrade the quality, introducing unwanted noise and artifacts.
Embark on a journey to master the art of image sharpening, a transformative process that promises to revitalize your photos of the Aurora without compromising their authenticity. It’s a delicate task, but with the right approach, your images can mirror the awe-inspiring nature of the Northern Lights, leaving you and your viewers in awe.
Essentials of Image Sharpening for Northern Lights Photography
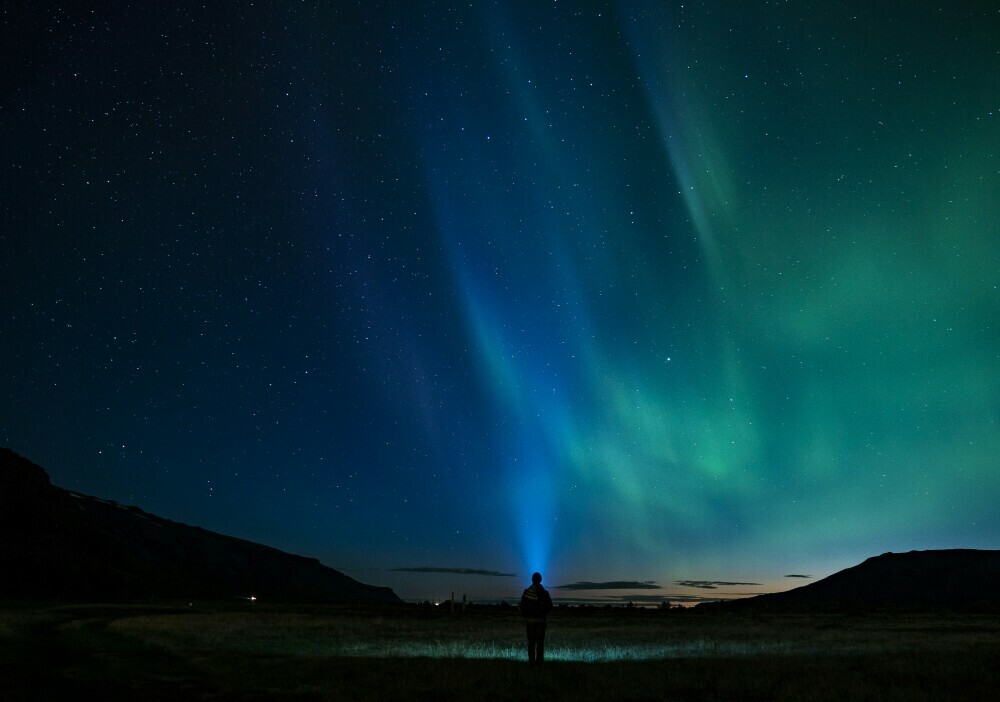
 Jonatan Pie. (2018) The Northern Lights Iceland [Photograph]. Unsplash
Escaping the city’s bright lights to chase the mystic dance of the Aurora Borealis is only half the battle in Northern Lights photography. The real challenge begins when you’re back, staring at the screen, trying to recreate the magic that left you in awe. That’s where image sharpening becomes essential. It’s about refining those spectacular moments into vivid memories reflecting the night’s grandeur.
The pursuit of capturing the Northern Lights in all their glory is not just about the moment of the click. It’s about the journey of post-processing, where image sharpening plays a vital role. This technique is not just about turning a good photo into a breathtaking one but about ensuring your photos match what your eyes witnessed, capturing the true essence of the Northern Lights.
Post-processing is like the second act of Northern Lights photography. It’s here that your creative vision takes shape. It would be best if you balanced sharpening with overall photo enhancement. Overdo it, and you tamper with the delicate shades of green, pink, and violet. Underdo it and the image remains a faint echo of the spectacle.
Begin by familiarizing yourself with tools designed for image sharpening and photo enhancement. Adobe Photoshop and Lightroom are prime choices, with features tailor-made for Aurora imagery. Learn to use their sliders and filters to pinpoint the areas needing that extra punch without compromising the scene’s authenticity.
Step-by-Step Guide to Sharpening Your Aurora Photos
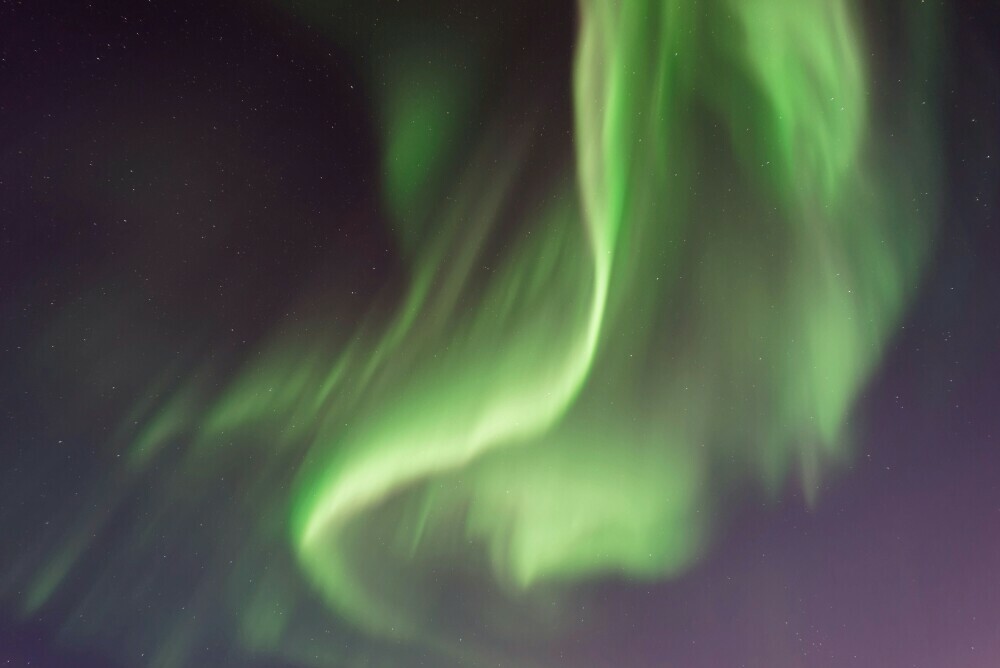
 Vincent Guth. (2016) The Northern Lights Iceland [Photograph]. Unsplash
Do you wonder how some photographers capture the Northern Lights with such mesmerizing clarity? The secret often lies in the sharpening stage of post-processing. In this section, I’ll take you through a comprehensive workflow for sharpening and enhancing the details in your Aurora Borealis images.
Choosing the right post-processing tool is crucial. Many professionals prefer software like Adobe Lightroom or Photoshop because of its comprehensive feature set and control over the sharpening process. Begin by importing your raw image into the software.
Inspect your photograph at 100% zoom to evaluate which areas need sharpening. Look for edges where the lights meet the night sky – these transitions are prime candidates for enhanced detail. Use selective sharpening to focus on these areas while avoiding adding noise to the sky.
Adjust the sharpening sliders, starting with the ‘Amount,’ which controls the intensity of the sharpening. A higher amount increases definition, but be cautious; overdoing it might lead to an unnatural look. Next, set the ‘Radius’ to determine the size of the details you wish to enhance.
Next, manage the ‘Detail’ slider. High settings bring out finer details, while lower settings provide a more subtle effect. Remember to keep checking the overall image to ensure a natural appearance. The ‘Masking’ feature helps exclude flat areas like the sky from sharpening, reducing the chance of introducing unwanted noise.
Finally, always compare your image’s before-and-after states. This practice allows you to make informed adjustments and avoid over-processing, which can detract from the image’s natural beauty. By carefully applying these steps, your Northern Lights images will boast stunning detail and clarity.
Advanced Techniques and Tips for Professional-Level Aurora Photography
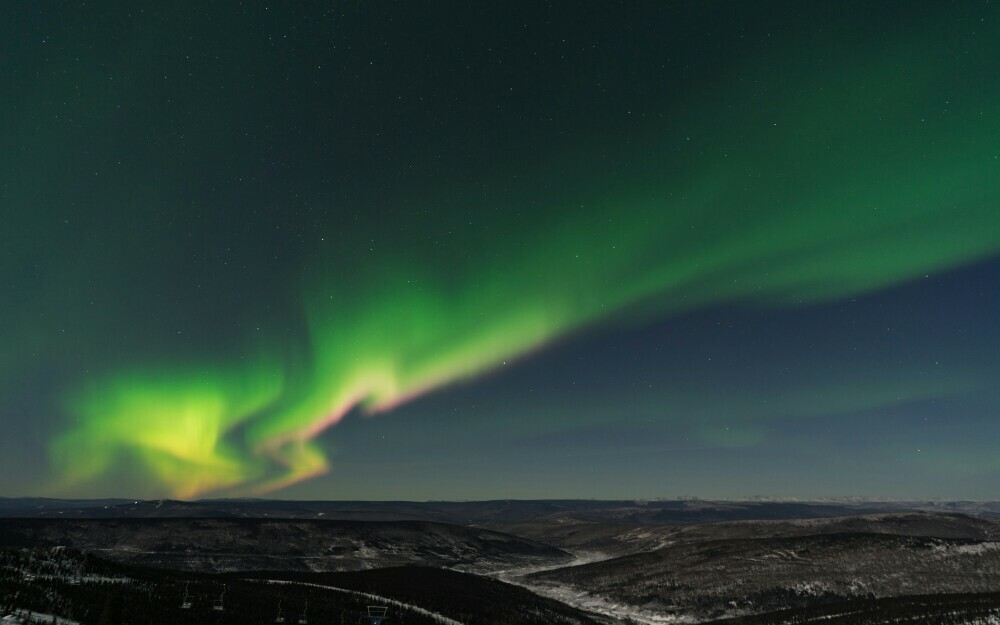
 Tommy Tang. (2016) The Northern Lights Fairbanks [Photograph]. Unsplash
When you’ve mastered the fundamental steps of enhancing Northern Lights images, it’s time to elevate your skills to a professional level. Advanced techniques are not just about applying more adjustments; they involve a nuanced understanding of your tools and the subject.
Delving deeper into photo editing software reveals a range of features designed specifically for the needs of experienced photographers who aim for perfect visual enhancement. Layer masks, luminosity adjustments, and localized sharpening can breathe life into every wisp and arch of the aurora’s dance across the sky.
Timing is critical as well. Knowing when to enhance and when to step back ensures the authenticity of your images remains intact. An overpowering application of any post-processing technique can diminish the natural allure that draws viewers to the Aurora Borealis in the first place.
As you work, keep the raw beauty of the phenomena at the forefront of your process. Refine your photos to amplify the aurora’s magic without overshadowing it. Remember, the goal is to share the Northern Lights as vividly as you’ve witnessed, with all the subtleties and nuances that leave an indelible impression.
Endeavor to keep learning, experimenting, and honing your craft. Much like the aurora’s swirling colors, photography is an ever-evolving art that rewards patience and persistence. The path to mastering the art of Aurora Borealis photography is as mesmerizing as the phenomenon itself—a journey of discovery and rich visual rewards.
